How are Front Spoiler Bars installed on a van?
A front spoiler bar installation on a van involves mounting a stainless steel protective bar along the lower front bumper using vehicle-specific brackets and fasteners. The process is straightforward for someone with basic mechanical knowledge and covers compatibility checks, bracket alignment, torquing to specification, and optional position light wiring. This guide walks through every stage, from understanding what the bar does to completing the electrical connections safely.
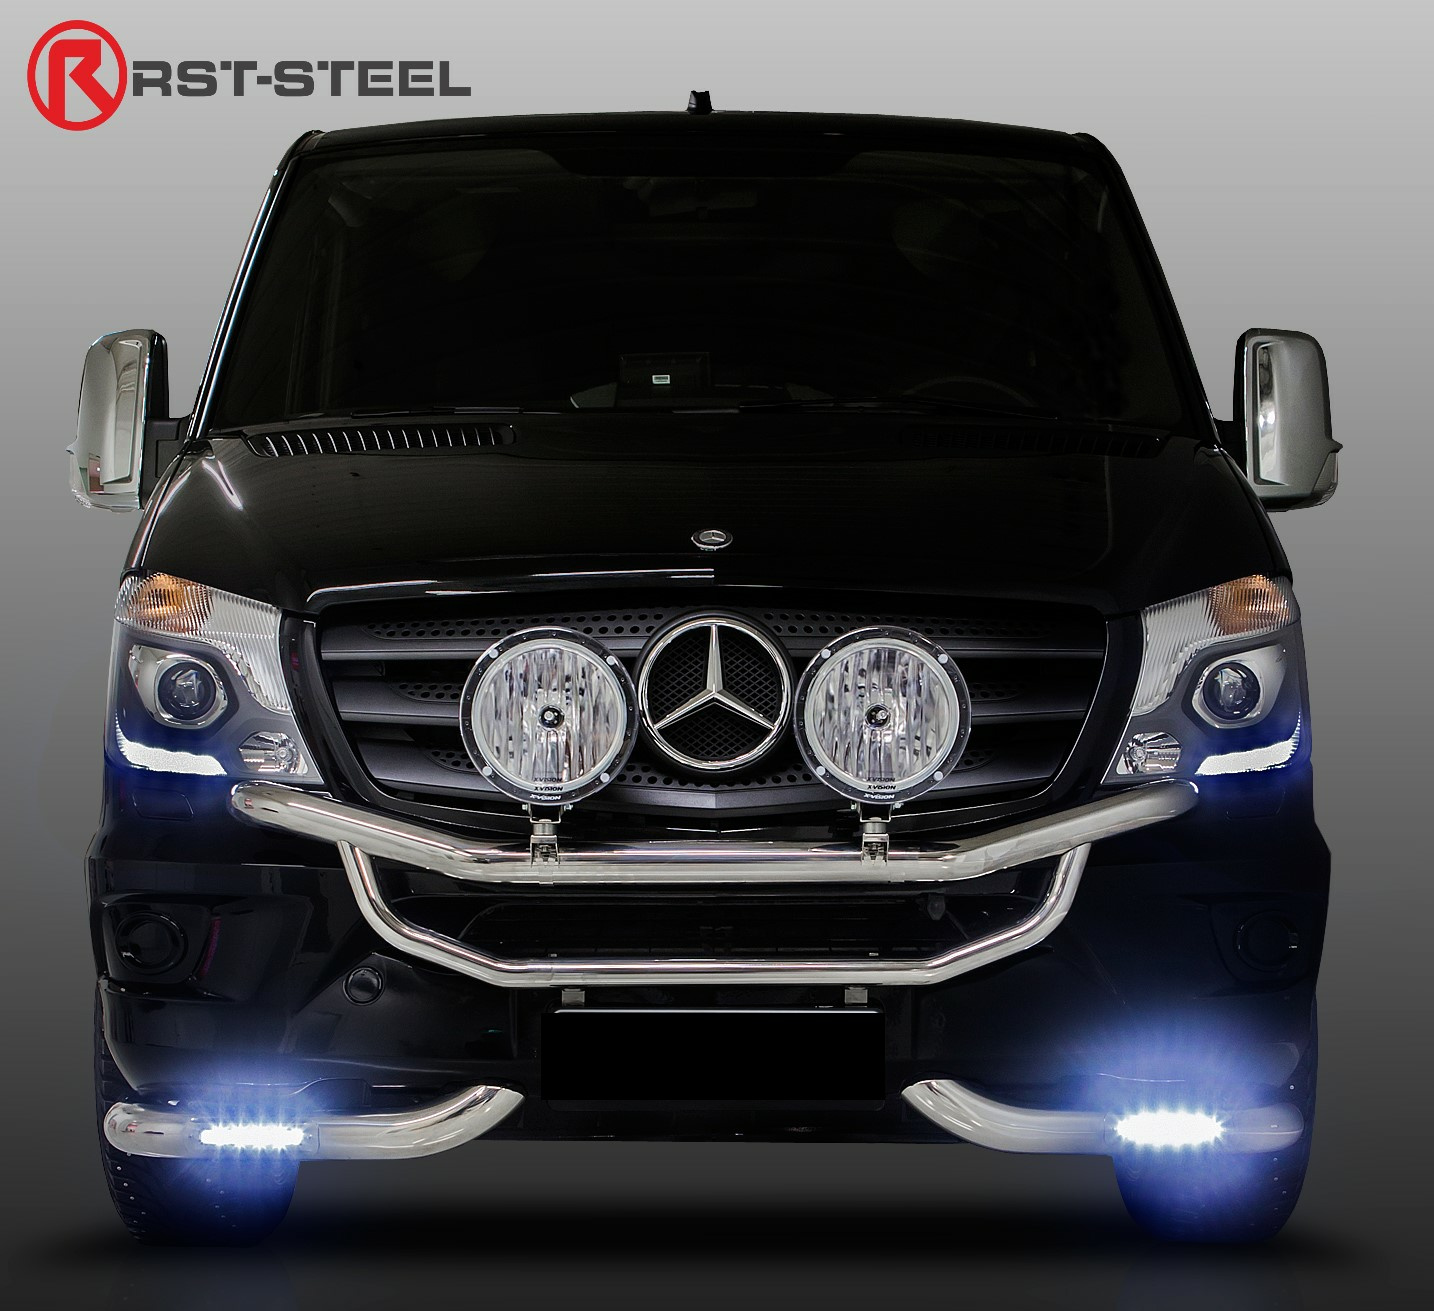
What is a front spoiler bar and what does it actually protect on a van?
A van front spoiler bar is a stainless steel bar mounted along the lower edge of the front bumper, designed to absorb and deflect impacts from road-level hazards before they reach the bumper itself. It acts as a sacrificial protective layer, taking the hit so your bumper does not.
On a commercial van used daily, the front bumper is constantly exposed to kerbs during tight manoeuvres, speed bumps at delivery yards, compacted snowdrifts in winter, and low concrete obstacles in car parks. Each of these can crack or deform a plastic bumper, and front-end repairs on working vans are both expensive and operationally disruptive, taking the vehicle off the road at the worst possible time.
The bar sits below the bumper line, typically mounted 150 to 250 mm from the ground depending on the van model. Because it is manufactured from stainless steel, it resists corrosion, maintains structural rigidity under repeated low-speed impacts, and retains its appearance over years of heavy use. Beyond protection, it also sharpens the front profile of the van, giving it a more purposeful, professional look.
What tools and preparation are needed before installing a front spoiler bar on a van?
Before fitting a commercial van protection bar, you need a torque wrench, a socket set covering common metric sizes (typically 8 mm to 17 mm), trim removal tools for accessing any bumper clips, a tape measure, and masking tape for marking alignment points. Safety gloves are recommended when handling steel components with sharp edges.
Vehicle preparation matters just as much as having the right tools. Clean the lower bumper area thoroughly so you can clearly see the OEM mounting points or factory-drilled bracket locations. Dirt and road grime can hide existing holes or cause bracket misalignment during fitting.
Verify compatibility before you start. Check that the spoiler bar is specified for your van’s exact make, model, year, and body variant, as bumper profiles differ significantly even within the same model range. Inspect the bumper structure for existing cracks or deformation. A damaged bumper will not hold brackets securely, and fitting a bar to compromised plastic can worsen the problem rather than solve it.
How is a front spoiler bar installed on a van step by step?
Installing a front spoiler bar follows a logical sequence: position, align, fasten, and verify. Rushing any stage risks poor fitment or a bar that works loose over time. With the van on level ground and the handbrake applied, the process runs as follows:
- Offer the bar up to the front bumper and hold it in position using masking tape or an assistant, checking that it sits level and centred.
- Align the supplied or OEM mounting brackets with the factory fixing points on the bumper or subframe. On some van models, minor variance in bracket position between production runs is normal, so small adjustments at this stage are expected.
- Hand-tighten all fasteners before applying final torque. This allows you to make lateral adjustments without fighting a partially locked bracket.
- Torque all bolts to the manufacturer’s specified values, working from the centre outward to distribute clamping load evenly and prevent bumper flex from distorting the final position.
- Check ground clearance on both sides and confirm the bar does not foul the bumper edges under light hand pressure. A correctly fitted stainless steel spoiler bar should sit firm with no lateral movement.
If the bar sits slightly proud on one side, recheck the bracket seating rather than forcing the fasteners, as over-torquing to compensate for misalignment can crack the bumper mounting area.
Can a front spoiler bar be fitted with position lights, and how is the wiring done?
Yes, many front spoiler bars for vans are designed to accept integrated position lights, and the wiring process is manageable with basic automotive electrical knowledge. Position lights improve front-end conspicuity significantly, which is a genuine safety benefit for drivers working early mornings, late evenings, or through Nordic winters.
Route the wiring through existing rubber grommets in the bumper or along the interior edge of the bumper shell, keeping cables away from moving parts and heat sources. Connect to the van’s sidelight or DRL circuit using a properly rated inline fuse, typically 5 A for standard LED position lights. All connections must be waterproofed using adhesive heat-shrink connectors or marine-grade terminals, as the lower bumper area is directly exposed to road spray.
From a regulatory standpoint, position lights must be visible from the front and comply with local lighting regulations regarding colour (white or amber, depending on jurisdiction) and placement height. Keeping the lights within the bar’s integrated housing ensures they remain within a legally compliant position relative to the vehicle’s overall width.
If you want your van equipped with a professionally fitted front spoiler bar, including optional position lights, RST-Steel offers model-specific bars made in Finland and a complete installation service across our branches. Contact us to find the right fit for your van and have it done properly from the start.